Choosing bathroom fixtures feels overwhelming when you’re planning a renovation. The range of options is huge, prices vary wildly, and everyone claims their products are the best.
The truth is, not all fixtures are created equal. A $200 mixer tap might look identical to an $80 one in the showroom, but the difference shows up six months later when one starts dripping and the other still works perfectly.
This guide helps you understand what actually matters when selecting bathroom fixtures and tapware. We’ll cover the quality indicators to look for, which finishes last longest, and where to spend versus save in your renovation budget. (If you’re still in the early planning stages, start with our guide on common bathroom renovation mistakes to avoid.)
Tapware Basics: What You Need to Know
Tapware is the most-used fixture in your bathroom. You’ll interact with it multiple times every day for years, so quality matters more than aesthetics.
Basin Mixers vs Separate Taps
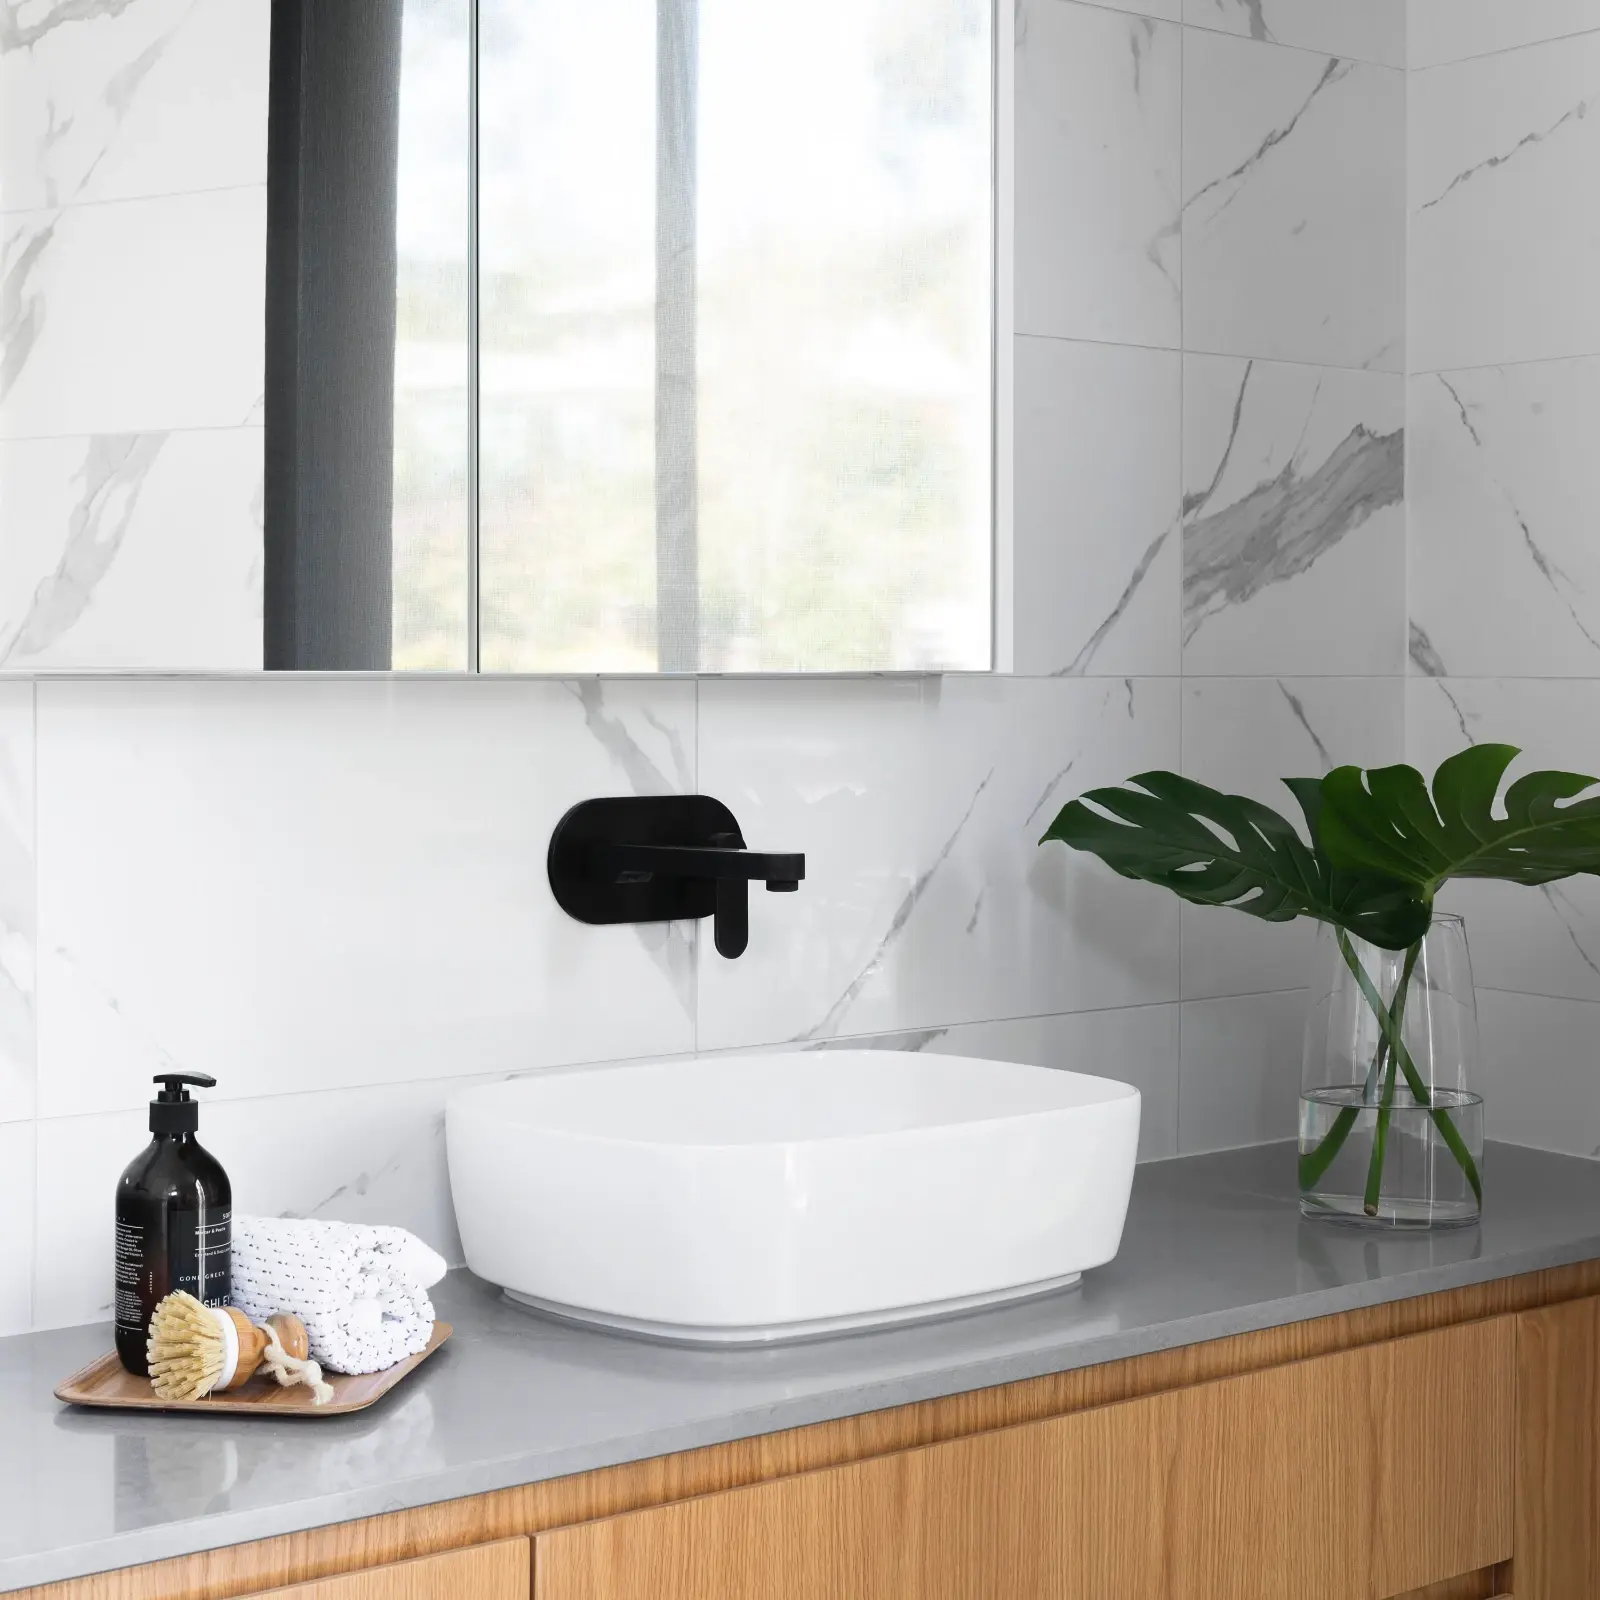
Most modern bathrooms use basin mixers (a single tap that controls both hot and cold water). They’re more convenient than separate taps and give you better temperature control. Wall-mounted mixers create a cleaner look and make the benchtop easier to clean, but they cost more to install because the plumbing runs inside the wall.
Deck-mounted mixers (installed directly on the benchtop or basin) are simpler to install and easier to replace later if needed.
The Quality Indicator: Ceramic Disc Cartridges
This is the single most important thing to understand about tapware quality. Inside every mixer tap is a cartridge that controls water flow and temperature. Cheap taps use compression cartridges with rubber washers that wear out quickly. Quality taps use ceramic disc cartridges that last years longer.
You can’t see the cartridge when you’re choosing tapware, but you can ask. Good suppliers will specify ceramic disc technology. Budget taps often don’t mention it at all because they don’t have it.
Why Cheap Tapware Fails
We’ve replaced enough failed tapware to see the pattern clearly. Cheap mixers develop drips within 12 to 18 months. The handles get loose. The finish starts wearing off where you touch it daily. The internal seals fail and you get temperature control problems.
Quality tapware costs more upfront, but you’ll use it thousands of times over its life. Spending $250 to $400 on a good basin mixer instead of $80 on a cheap one saves you the hassle and cost of replacement later.
Tapware Finishes: Durability and Style
Finish choice affects both how your bathroom looks and how much maintenance you’ll deal with.
Chrome: Classic and Durable
Chrome is the most popular finish for good reasons. It’s durable, resistant to corrosion, relatively affordable, and easy to keep clean. A quality chrome finish will look good for many years with just regular wiping down.
Chrome shows water spots, so you’ll notice them if you don’t wipe the taps after use. But it’s forgiving and doesn’t require special cleaners.
Matte Black: On-Trend But Requires Quality
Matte black tapware looks stunning in modern bathrooms. But the finish quality matters enormously. Cheap matte black finishes are essentially paint that starts wearing off where you touch the tap daily.
Quality matte black uses PVD (Physical Vapour Deposition) coating, which is extremely durable. The coating is applied at a molecular level and becomes part of the brass underneath. Expect to pay significantly more for genuine PVD matte black, typically $400 to $600 for a basin mixer.
If you love the look but your budget is tight, consider using matte black for the shower mixer (less hand contact) and chrome for basins where the wear is heaviest.
Brushed Nickel and Gunmetal: Premium Options
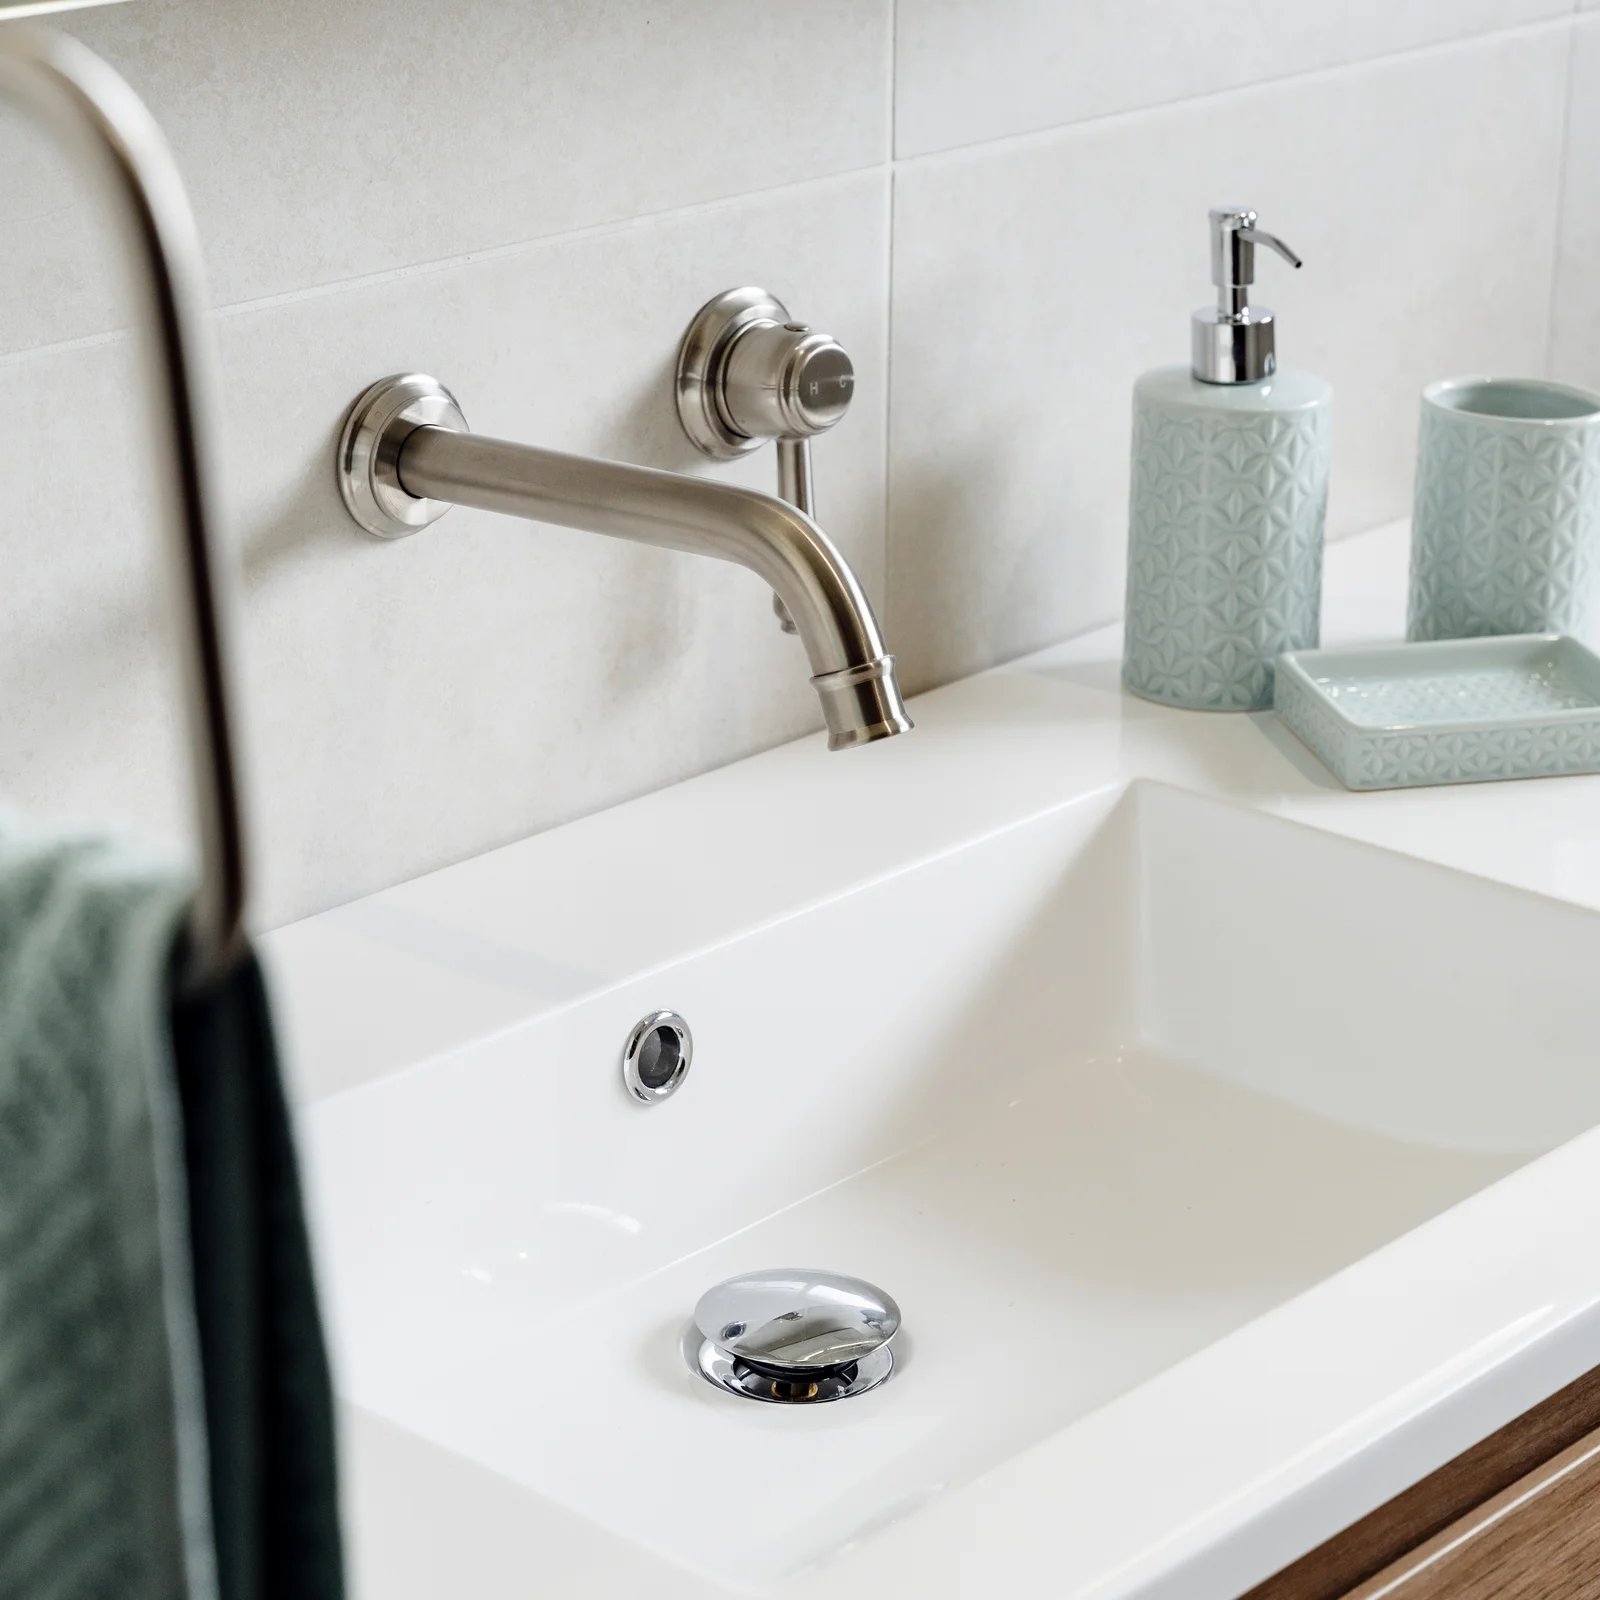
Brushed nickel and gunmetal finishes sit in the premium range. They’re more expensive than chrome but hide water marks and fingerprints better, which means less visible maintenance.
These finishes work particularly well on the North Shore where we have hard water. The minerals in Sydney water can leave visible deposits on chrome, but they blend in better with brushed finishes.
Choosing the Right Vanity and Basin
Your vanity choice affects storage, style, and your renovation budget more than most people expect.
Vanity Types
Wall-hung vanities create a clean, modern look and make floor cleaning easier. They require solid wall framing to support the weight, which your builder needs to factor into the planning. If your renovation includes moving walls or you’re working with timber framing, wall-hung vanities add complexity.
Freestanding vanities sit on the floor and work in any bathroom. They often provide more storage because you can use the full depth from floor to benchtop.
Custom joinery gives you exactly what you want but costs significantly more than off-the-shelf units. For a typical North Shore bathroom, budget $3,000 to $5,000 for a quality custom vanity versus $1,200 to $2,500 for a good pre-made unit.
Basin Styles
Undermount basins sit below the benchtop with the edges hidden. They create clean lines and make the benchtop easy to wipe directly into the sink. They work best with stone or solid surface benchtops.
Vessel basins sit on top of the benchtop and make a design statement. They require wall-mounted or tall taps and can make the overall height awkward if your benchtop is already at standard height.
Integrated basins (where the basin and benchtop are one piece) eliminate the join where dirt accumulates. They’re easier to keep clean but harder to replace if damaged.
Storage Considerations
People consistently underestimate how much bathroom storage they need. A good vanity should house your daily items plus the backup supplies you inevitably accumulate.
Drawers are more practical than doors for accessing items stored at the back. Soft-close mechanisms cost a bit more but make the bathroom feel more premium and prevent the slam that wakes people up at 6am.
Toilets: More Options Than You Think
Toilet selection seems simple until you see the range available. Understanding the basic types helps you make a choice that fits your bathroom and budget.
Back-to-Wall vs Close-Coupled
Back-to-wall toilets hide the cistern in the wall or behind cabinetry. They look cleaner and make floor cleaning easier, but the cistern access panel needs to be factored into your wall design. We typically build a false wall or use a concealed cistern unit.
Close-coupled toilets have the cistern sitting directly behind the bowl. They’re simpler to install and maintain because everything is accessible. Most North Shore renovations use this style because it’s reliable and cost-effective.
Wall-Hung Toilets
Wall-hung toilets mount to a frame inside the wall with no floor contact. They create a very clean look and make floor cleaning simple, but they require planning. The frame needs to be installed before your wall lining goes up, and your floor needs to be level and finished before installation.
Budget an extra $500 to $800 for the wall frame and installation compared to a standard toilet. Worth considering if you’re doing a full bathroom rebuild, less practical for a quick update.
Water Efficiency
All toilets sold in Australia must meet WELS (Water Efficiency Labelling and Standards) requirements. Most modern toilets are dual-flush with a 4.5-litre full flush and 3-litre half flush.
Higher-rated toilets use less water without compromising performance. The rating affects your water bills over the toilet’s life, which is typically 15 to 20 years.
Rimless Designs
Rimless toilets eliminate the rim where bacteria and buildup accumulate in traditional designs. They’re easier to keep clean and hygienic. Most quality toilets now use rimless technology without a significant price increase.
Shower Fixtures
Your shower is where tapware quality affects your daily experience most directly.
Rain Showers vs Hand-Held
Rain showerheads (large overhead showers) have become standard in modern renovations. They feel luxurious but come with tradeoffs. You can’t avoid getting your hair wet, which some people love and others don’t.
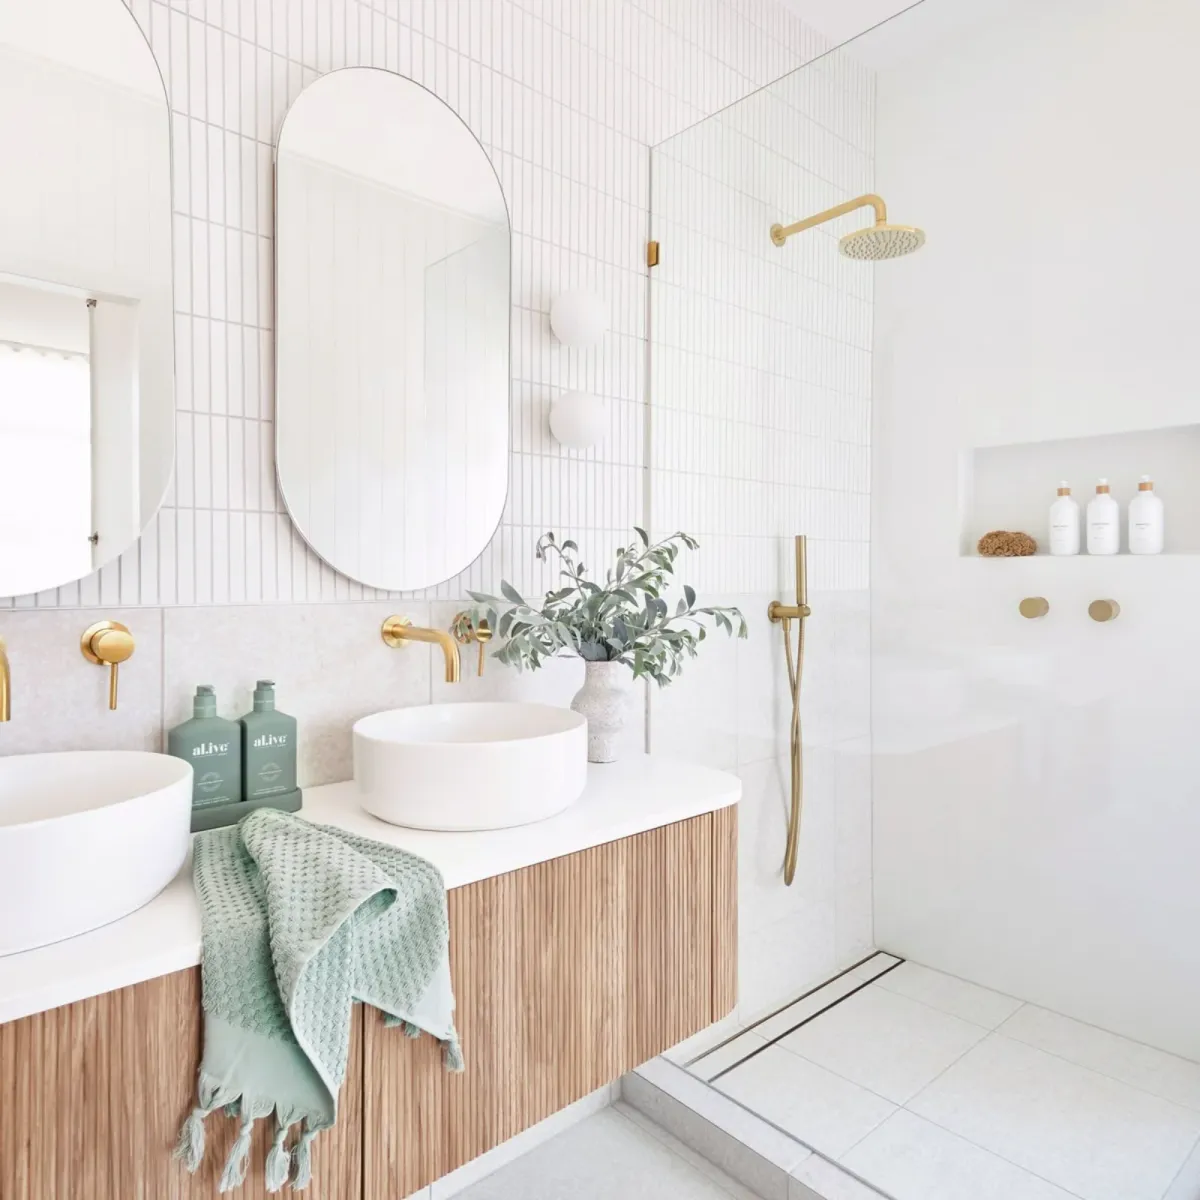
Most of our clients choose both. A fixed rain shower overhead plus a hand-held on a rail gives you options. The rail shower is better for washing children, pets, and cleaning the shower itself.
Mixer Types
Pressure-balance mixers prevent sudden temperature changes when someone flushes a toilet or turns on a tap elsewhere. They’re the minimum standard for safety and comfort.
Thermostatic mixers let you set a specific temperature and maintain it precisely. They cost more (typically $400 to $600 extra) but give you consistent temperature even when water pressure fluctuates. Worth considering if you have multiple bathrooms or variable water pressure.
Installation Placement
Shower mixer placement matters more than people expect. We position mixers at about 1100mm above the floor (roughly shoulder height for most people) so you can adjust temperature without reaching through cold water.
If you’re installing a rain shower, position it to avoid hitting the mixer when you’re standing under the water. Your builder should check this during the rough-in stage.
Storage and Niches
Built-in niches look cleaner than corner shelves and don’t interrupt the tile pattern as much. We typically build them at about chest height (1200 to 1400mm) in the shower wall. The niche needs to be planned before your waterproofing goes in, so it’s not something you can easily add later.
Size the niche for how you actually use it. A 300mm x 600mm niche holds shampoo bottles better than a narrow 150mm version that looks clean in photos but doesn’t fit real products.
Where to Spend and Where to Save
Not every fixture deserves the same budget. Here’s where we see the best return on investment.
Worth Spending On
Shower mixer and components: You use this daily. Quality mixers maintain temperature, resist corrosion, and last years longer. Budget $400 to $700 for the mixer plus $200 to $400 for the showerhead.
Basin mixer taps: High-use items that affect your daily experience. Ceramic disc cartridges and quality finishes justify the cost. Budget $250 to $400 per mixer.
Toilet: A quality toilet lasts 15 to 20 years. The difference between a $400 toilet and a $600 toilet is usually in the flushing performance, water efficiency, and cleaning features. Worth spending on.
Vanity: If you’re going custom, pay for quality joinery with soft-close drawers and water-resistant materials. A well-built vanity lasts decades.
Where You Can Save
Towel rails and accessories: These are simple items without complex mechanisms. A $40 towel rail usually functions as well as a $120 one. Focus on finish durability rather than brand names.
Mirrors: Unless you want integrated lighting or demister pads, a quality mirror from a glass supplier costs half what bathroom showrooms charge for the same thing.
Toilet roll holders and robe hooks: Basic items where mid-range quality is fine. Match the finish to your tapware, but don’t overspend.
The Hidden Costs of Cheap Fixtures
Cheap fixtures create costs beyond the purchase price. Failed tapware means a plumber visit at $150 to $200 plus parts. During that visit, you might find the cheap tap has corroded and damaged the bench, creating a bigger problem.
Low-quality toilets develop flushing issues or leaks that waste water. A toilet that uses an extra 2 litres per flush costs you roughly $40 to $60 per year in wasted water for a typical household.
Factor in the replacement timeline. A $250 quality mixer that lasts 10+ years is cheaper than replacing an $80 mixer every two years.
Working with Your Builder on Selections
Most builders have preferred suppliers and will guide your fixture selections. Here’s why that relationship benefits you.
Why Builders Have Preferred Suppliers
We work with specific suppliers because we know their product quality and their trade support is reliable. When something goes wrong (and occasionally it does), we can get it resolved quickly.
Trade pricing typically saves you 20 to 30% compared to retail prices. Your builder’s account gives you access to that pricing while still getting the full manufacturer’s warranty in your name. Make sure your builder is licensed with NSW Fair Trading so you have proper consumer protections.
Lead Times Matter
Quality bathroom fixtures often have 2 to 4 week lead times, sometimes longer for specific finishes or custom items. We need to order your fixtures before we start demolition to keep the project on schedule.
If you fall in love with a particular tap or vanity during your renovation, check the lead time immediately. Finding out it’s 8 weeks away when we’re ready to install creates delays that cascade through the whole project.
Questions to Ask Your Builder
Before you commit to fixtures, discuss these with your builder:
- What’s included in the standard allowance and what costs extra?
- Which suppliers do you work with and why?
- What’s the ordering timeline for fixtures?
- Who’s responsible if a fixture arrives damaged or wrong?
- What happens if I want to upgrade a selection?
Clear communication at this stage prevents misunderstandings later. If you want a builder who walks you through these decisions step by step, get in touch with our team.
Make Confident Fixture Choices
Choosing bathroom fixtures doesn’t need to be overwhelming. Focus on quality where it matters (tapware, shower components, toilet), understand the finish durability for your specific needs, and work with your builder to get trade pricing on products they trust.
The fixtures you choose now will affect your bathroom experience for the next 10 to 15 years. Investing a bit more in quality products that last pays off in both daily use and long-term maintenance.
Planning a bathroom renovation in Sydney? We help North Shore homeowners make confident fixture selections that fit their budget and lifestyle.