Before You Start: Clarify What You Actually Want
The most important work you can do before you speak to a single builder happens at home, with a notepad and a clear head.
Understand what is actually bothering you
Walk into your current bathroom and be specific. Is it the layout that is wrong, or just the finishes? Is the shower too small, or do you just need a better screen? Is the storage genuinely insufficient, or does it just feel cluttered because the space is badly used?
The clearer you are about the problem you are solving, the easier it is to brief a builder and the better your outcome will be. Vague briefs produce vague quotes.
- Write down the three things you most want to change
- Note anything that is actually working well. Do not change it for the sake of it.
- Decide whether you want a like-for-like update or a reconfiguration of the layout
- If you are considering moving walls, adding a window, or changing the floor plan, note that separately. It affects approval and budget significantly.
Save your inspiration
You do not need to have made every decision before you meet your builder. But having visual references makes every conversation faster and more productive. Save photos from Instagram, Pinterest, Houzz, or magazine features that show bathrooms you like. Note what specifically appeals: the tile pattern, the tapware finish, the vanity height, the way the shower is screened.
- Create a folder of 10 to 20 inspiration photos
- Note the finishes that appear most often. This is your actual preference, not just what photographed well.
- Flag any specific products you have seen and want to include
- Be realistic: the bathrooms in magazines often have $15,000 to $25,000 in tiles alone
Decide on scope
Before you can get a meaningful quote, you need a rough scope. You do not need to know every product, but you do need to know the general brief.
- Is this a standard refresh (same layout, new everything) or a reconfiguration?
- Will you be changing the location of the toilet, shower, or basin? This affects plumbing costs significantly.
- Do you need to add or move a window or door?
- Are you combining two rooms or extending into an adjacent space?
- Is this a full bathroom, ensuite, or powder room?
Getting Your Budget Right
One of the most useful things you can do before approaching builders is to understand what bathroom renovations actually cost in Sydney. It saves everyone time and sets realistic expectations on both sides.
Understand the real cost ranges
For a standard bathroom renovation in Sydney in 2026, here is what to expect:
- Standard: $27,000 to $35,000. Functional layout, mid-range tiles and fixtures, quality finishes without premium choices.
- Mid-range: $31,000 to $43,000. Better quality tiles and tapware, some feature choices, possibly a freestanding bath.
- Premium: $40,000 to $55,000+. High-end everything, stone surfaces, designer fixtures, significant design input.
- Powder room: $15,000 to $25,000. Smaller scope, but quality trades and materials still required.
For a detailed breakdown of what drives these numbers, our bathroom renovation cost guide for Sydney 2026 explains exactly what you get at each price point.
To get a more specific picture based on your bathroom size and finish level, use our bathroom renovation cost calculator.
- Settle on a realistic budget range, not a ceiling, a range
- Set a contingency of 10% to 15% for unexpected findings (older homes almost always have something behind the walls)
- Decide what you would prioritise if you had to choose between competing features
- Discuss the budget with your partner before you meet any builders
Know what moves the cost
The biggest cost variables in a bathroom renovation are:
- Layout changes: Moving the toilet, shower, or basin adds plumbing costs. Keeping the layout means less plumbing work.
- Tile selection and coverage: Large-format tiles, imported tiles, and floor-to-ceiling tiling are more expensive to supply and lay.
- Tapware and fixture quality: There is an enormous range between budget tapware and quality European brands. This is often where mid-range and premium prices diverge most visibly.
- Waterproofing scope: A standard wet area waterproofing is factored into every quote. Full floor-to-ceiling waterproofing costs more but protects more.
- Site conditions: Older homes on Sydney’s North Shore, including Mosman, Cremorne, Neutral Bay, Northbridge, and Lane Cove, frequently have plumbing that needs upgrading, substrates that need replacing, or structural surprises once walls come down.
Finding the Right Builder and Getting Quotes
Finding the right builder is not about finding the cheapest quote. It is about finding someone you can trust with your home and your money.
What to look for
A good builder for a bathroom renovation on Sydney’s North Shore will:
-
Communicate clearly and promptly from the very first contact
-
Ask you specific questions about your brief before they quote
-
Provide a detailed, itemised quote rather than a single lump sum
-
Be upfront about what is and is not included
-
Hold a current NSW contractor’s licence. You can verify this in under a minute.
-
Carry current insurance
-
Be able to explain their process, timeline, and how they handle unforeseen issues
-
Ask for at least two quotes. Three is reasonable for a larger spend.
-
Verify every builder’s licence on the NSW Fair Trading licence checker
-
Ask how long they have been doing bathroom renovations specifically
-
Ask for examples of completed work in your area
-
Ask who does their waterproofing and whether a Certificate of Compliance is issued
-
Ask how they communicate during the build
How to compare quotes
Quotes for the same bathroom can look very different. A lower price often means something is not included, and that something will surface as a variation once the job is underway.
When comparing quotes, check:
- Is waterproofing included? Is it to Australian Standard AS 3740 with a Certificate of Compliance?
- Are all plumbing and electrical works included?
- Is the cost based on your specific selections, or a generic allowance?
- What happens if something unexpected is found once walls come down?
- Is waste removal included?
- Are site protection and dust management included?
For a detailed look at the difference between fixed-price and cost-plus contracts, and what that means for your risk exposure, see our guide to fixed-price vs cost-plus contracts in Sydney.
Red flags to watch for
A few signals worth noticing when you are evaluating builders:
- Significantly lower than every other quote. Something is missing or something will go wrong.
- Unable to provide examples of completed work
- Vague or verbal answers to specific questions about compliance
- Asks for a large deposit upfront. A reasonable deposit is 5% to 10% on signing, not 50%.
- Pressure to sign quickly or offers that expire tomorrow
- No written contract offered
For more on this, our guide to common bathroom renovation mistakes covers the builder selection errors that homeowners most often regret.
Making Your Selections: Tiles, Tapware, and Everything Else
Your material and fixture selections need to be finalised before work starts. This is not a formality. It is a practical requirement. Delays in selections are the most common cause of mid-project hold-ups, which extend timelines and increase costs.
Why selections must be locked in before demolition
Once your builder starts work, they are booking trades and sequencing the job around a fixed schedule. If your tiles arrive two weeks late because you changed your mind after ordering, the tiler cannot be on site. The following trade cannot follow. The whole project slips.
Lock in every selection before demolition begins.
The decisions you need to make
Your builder should walk you through each of these, but go in having thought about them.
Layout and scope
- Are you keeping the same layout or moving any fixtures?
- Is the ceiling height changing?
- Are you adding any windows, skylights, or doors?
Tiles
- Floor tile: material, format, colour, finish (for example, 600x600mm matte porcelain)
- Wall tile: same or different to floor? Feature tile for the shower or vanity wall?
- Grout colour: this changes the whole look of the room
- Shower floor: large format tiles require a minimum fall to drain; small mosaic tiles work better for shower floor gradients
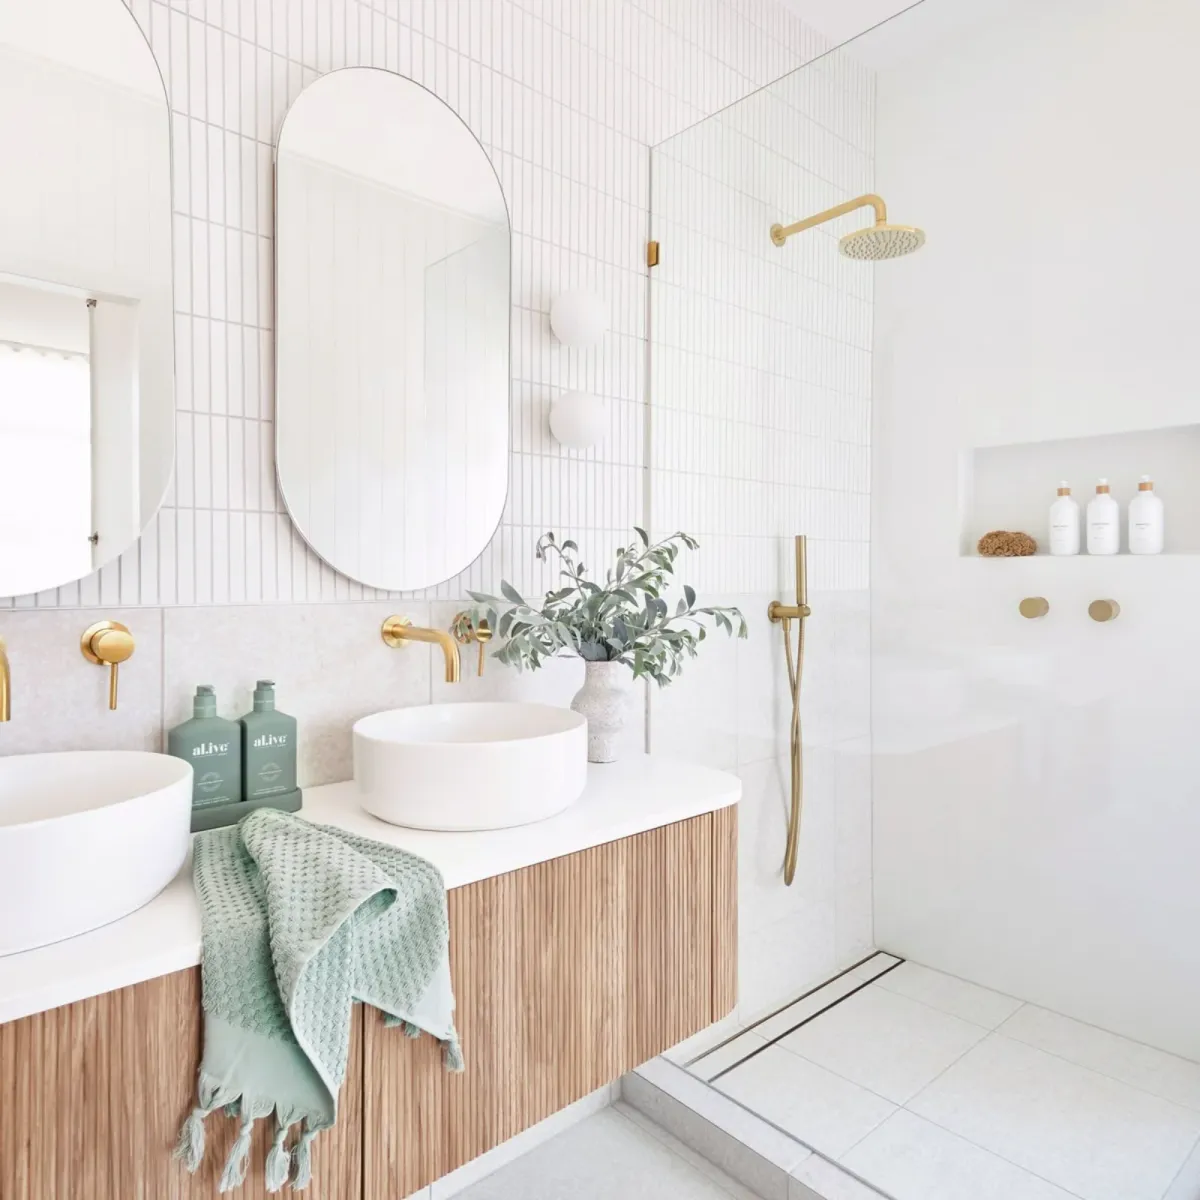
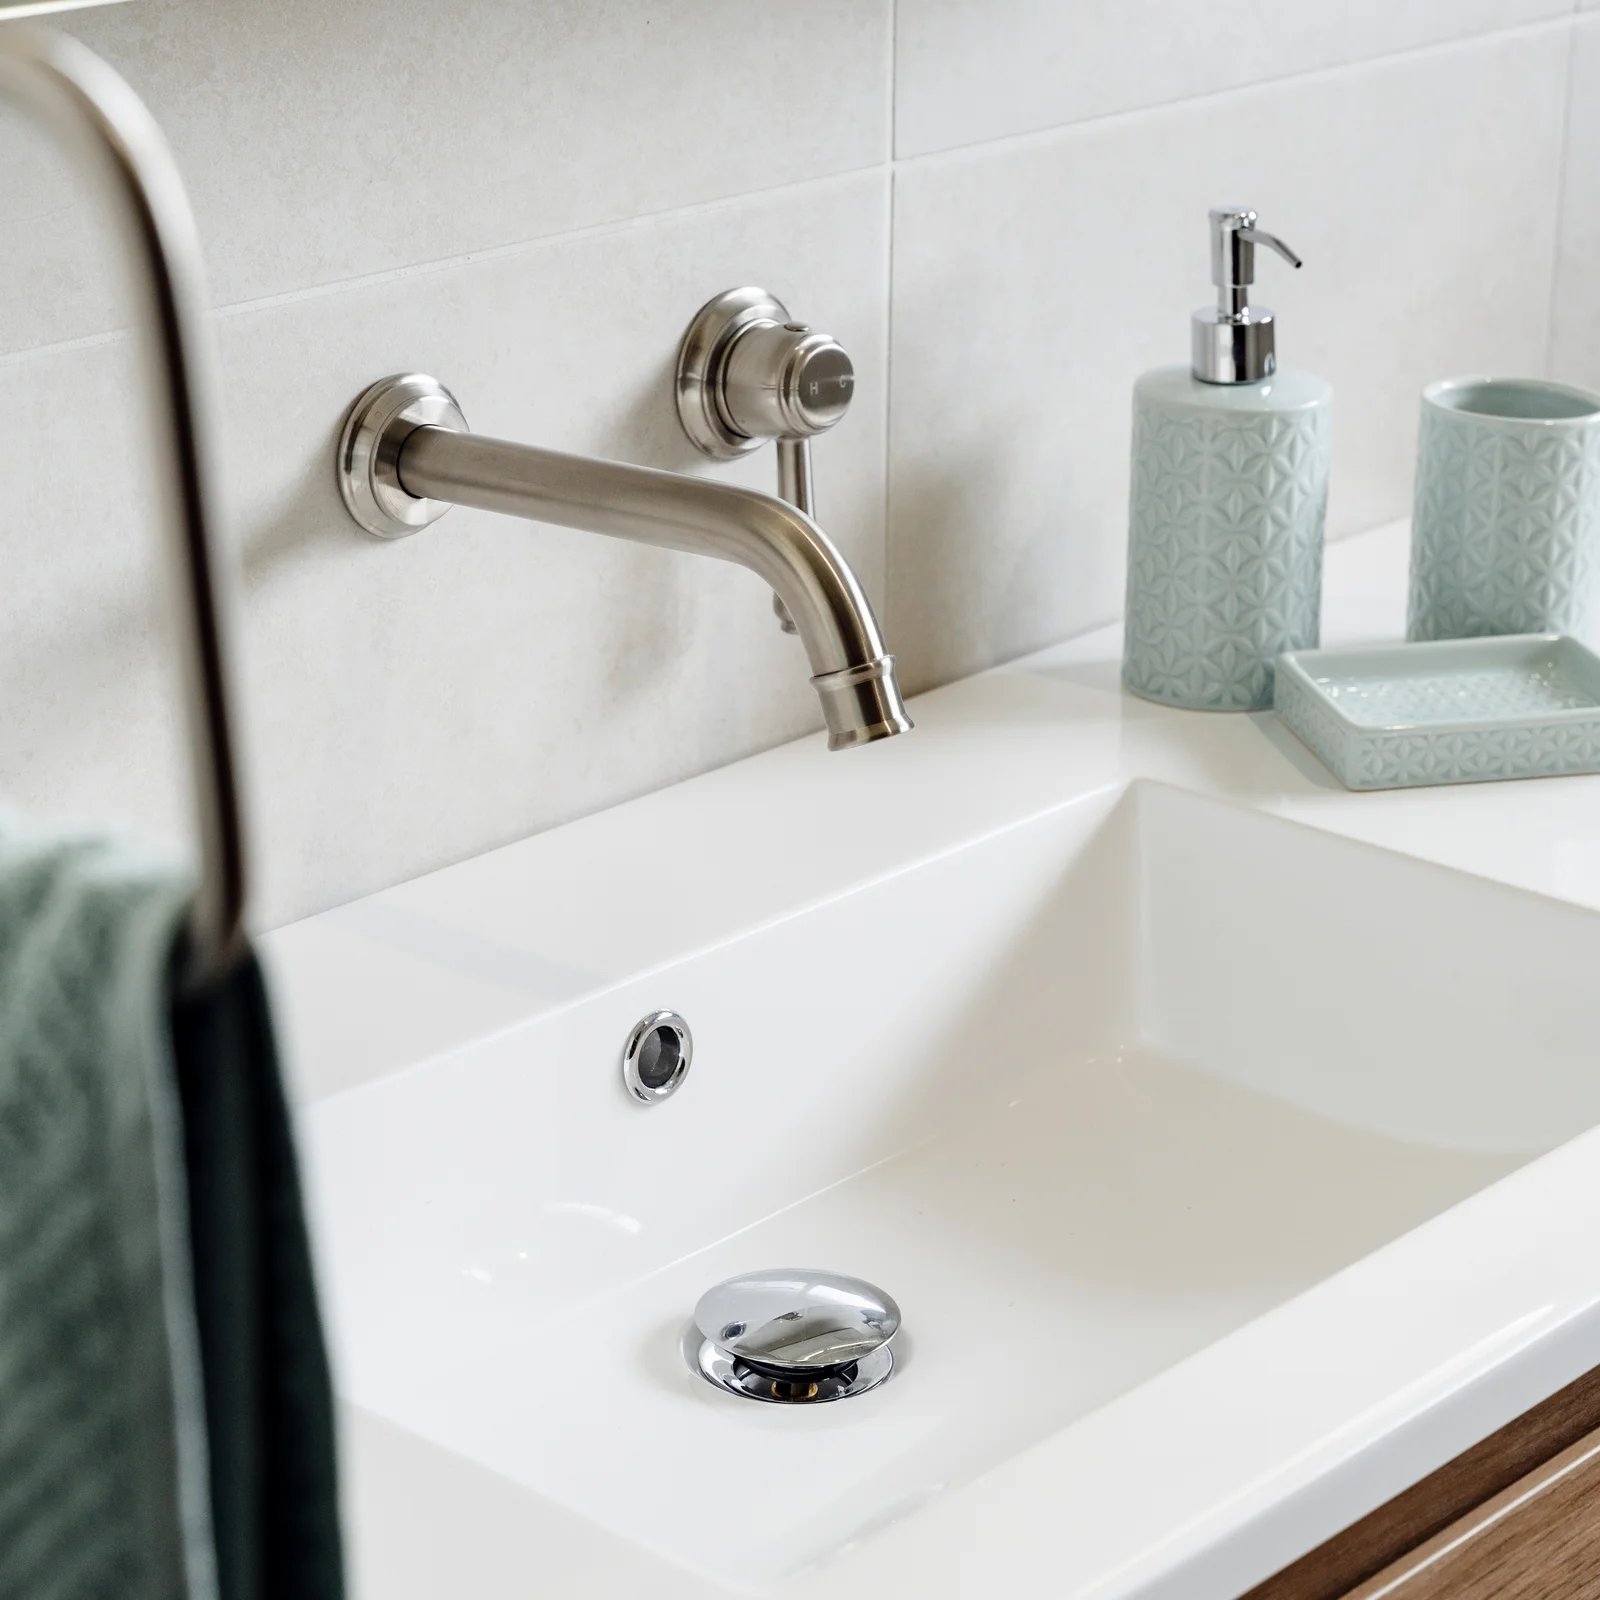
Tapware and fittings
- Shower mixer: exposed or concealed?
- Basin mixer: wall-mounted or deck-mounted?
- Bath mixer and spout (if applicable)
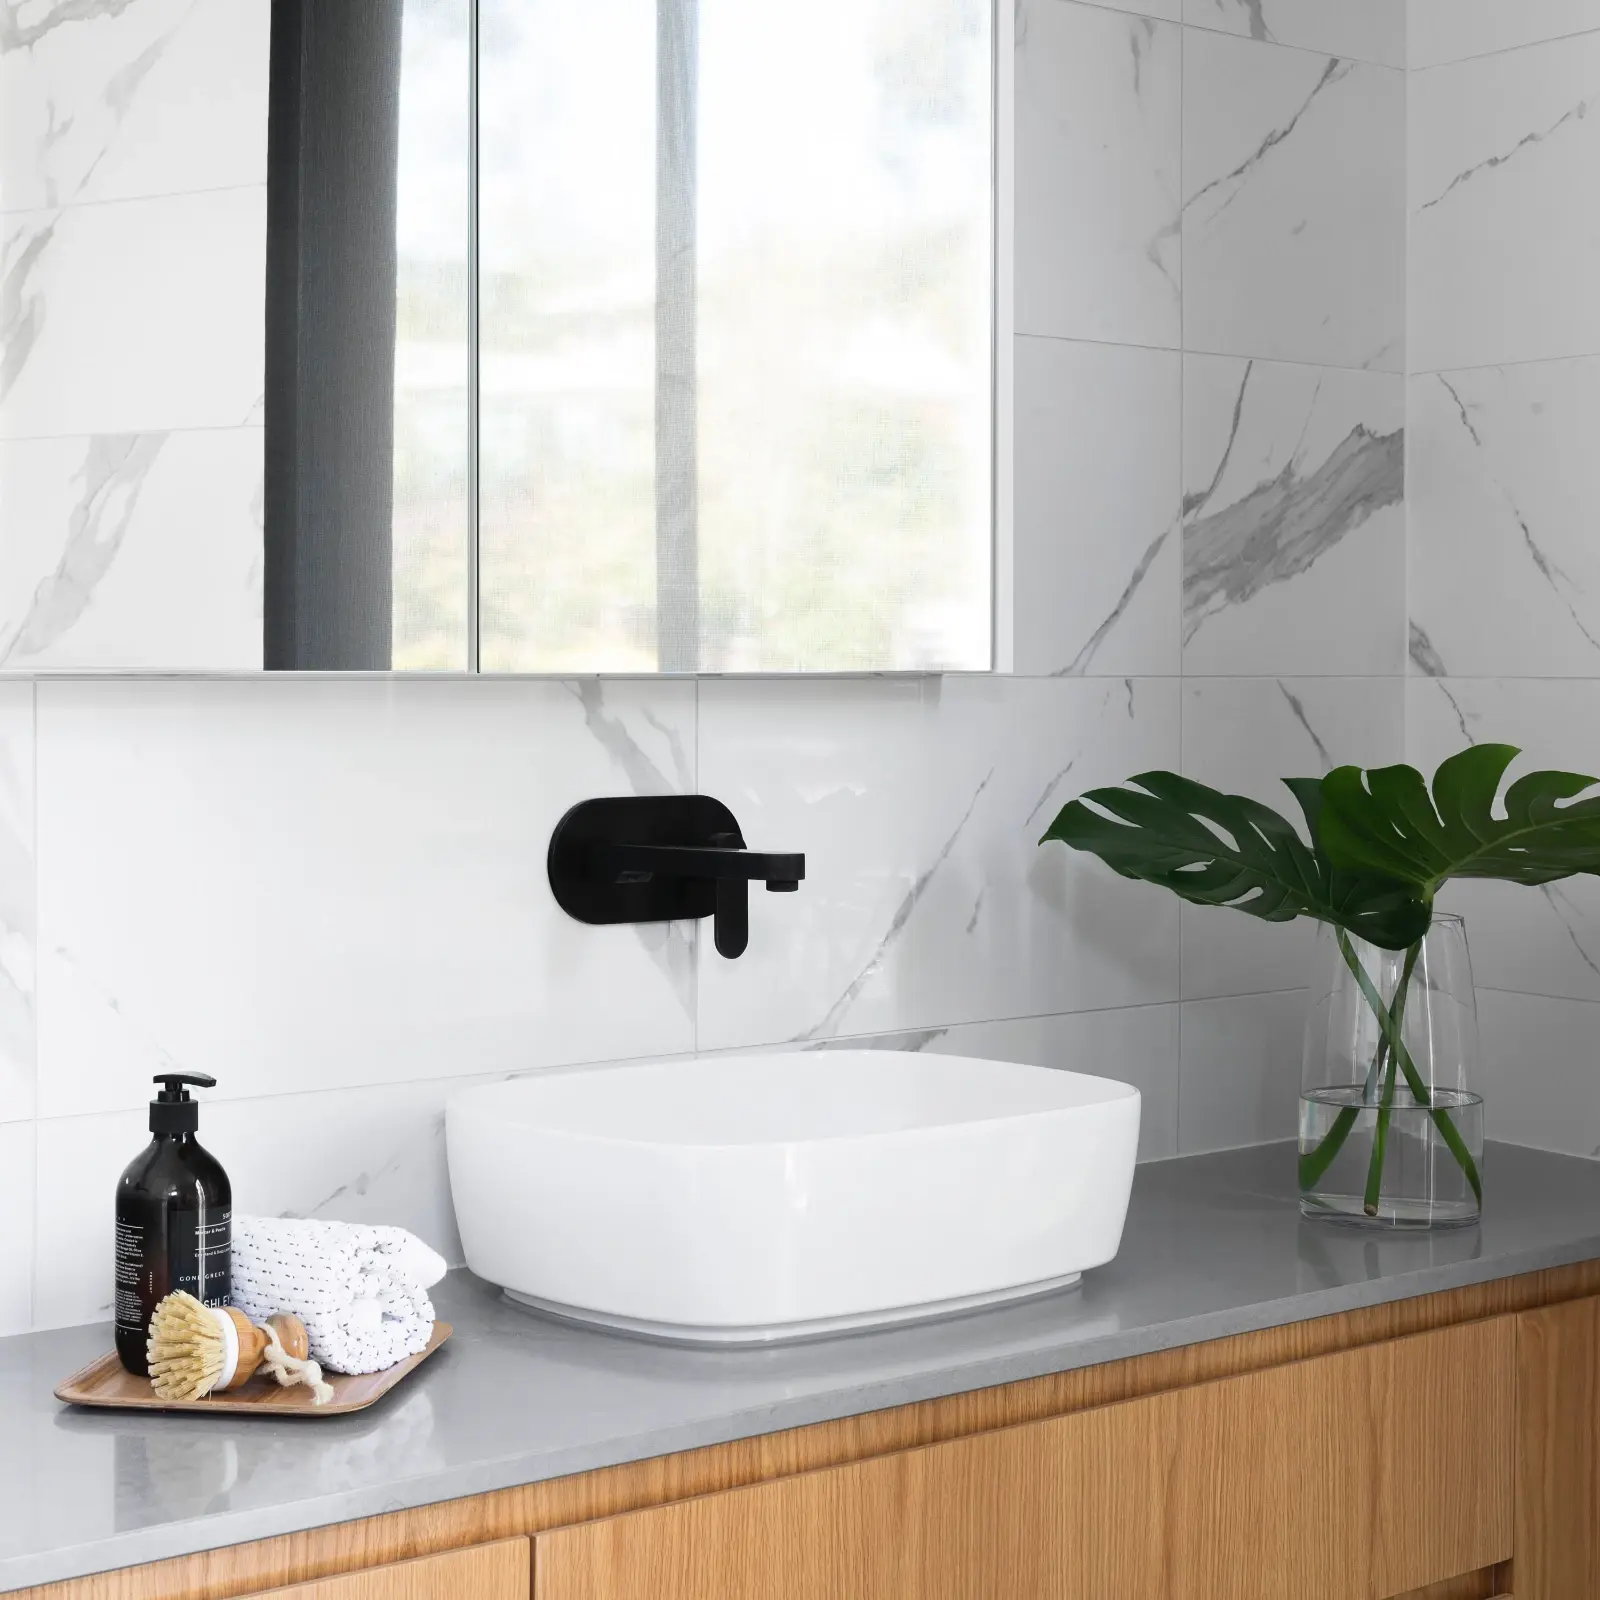
- Finish: chrome, brushed nickel, matte black, or brushed brass?
- Selecting all tapware from one range ensures the finishes match exactly
Vanity
- Freestanding, wall-hung, or built-in?
- Material: timber, painted MDF, stone top?
- Basin: undermount, above-counter, or integrated?
- Storage: drawers or doors? Soft-close hinges?
Shower
- Screen: frameless, semi-frameless, or framed? Single panel, pivot door, or sliding?
- Shower niche: where, how many, what size?
- Seat: built-in or none?
- Shower rose: overhead rain, handheld, or both?
Toilet
- Wall-hung or floor-mounted?
- Rimless toilets are easier to clean. Worth considering.
- Seat: standard, soft-close, or heated?
Lighting and ventilation
- Exhaust fan: standard, or combined with heat lamp and light?
- Main light: recessed downlights or a feature pendant?
- Mirror light: above, beside, or backlit mirror?
- Your electrician will advise on placement based on bathroom safety zone requirements
Our bathroom fixtures and tapware guide covers how to make smart choices at each price point without overcomplicating the process.
- All tiles selected and ordered. Confirm lead times, as some tiles have 4 to 8 week wait times.
- Tapware and fittings selected, with matching finish across all items
- Vanity and basin selected and ordered
- Toilet selected and ordered
- Shower screen: note that screens are measured and ordered after tiling, so finalise the style now and dimensions later
- Exhaust fan and lights selected
- Mirror selected (or decided on)
- All selection documentation provided to your builder in writing
During the Build: What to Expect Week by Week
A standard bathroom renovation on Sydney’s North Shore takes 3 to 4 weeks once work begins, assuming selections are locked in, no major surprises are found behind the walls, and trades are properly scheduled.
For a complete week-by-week breakdown of the construction sequence, see our bathroom renovation timeline guide. Here is the high-level picture.
The typical sequence
Week 1: Demolition and rough-in
- Existing fixtures and tiles stripped out
- First look at what is behind the walls. Where surprises happen in older homes.
- Plumbing rough-in: waste and supply lines moved or extended to new positions
- Electrical rough-in: new circuits, exhaust fan wiring, lighting positions set
Week 2: Waterproofing and substrate
- Walls and floor prepared and levelled
- Waterproofing membrane applied to shower, wet areas, and floor to Australian Standard AS 3740
- Waterproofing inspected and Certificate of Compliance issued before tiling begins
- This inspection point is non-negotiable: tiling cannot start without it
Week 3: Tiling
- Floor and wall tiles laid
- Grouting once tiles have cured (typically 24 to 48 hours)
- Shower niche tiled
Week 4: Fit-off and finishing
- Vanity, basin, and toilet fitted and connected
- Tapware connected by plumber
- Shower screen measured, ordered (lead time typically 1 to 2 weeks), and installed
- Electrical fit-off: lights, exhaust fan, switches
- Mirror, accessories, and final touches installed
The waterproofing check: the most important inspection
Waterproofing is the one stage in a bathroom renovation where an inspection must happen before the next stage begins. If tiles go down before the membrane is certified, you have a compliance problem that is expensive to fix.
Your builder handles this. But you should know it is happening and ask to see the Certificate of Compliance when it is issued.
What you need to do during the build
Not much, and that is the point of using a good builder. But a few things help:
- Be available to make decisions quickly if something unexpected comes up
- Do not visit the site during active work hours without letting your builder know
- Review any variation quotes before approving them, not after
- Keep your selection documentation accessible in case a product needs to be confirmed
- Waterproofing Certificate of Compliance issued and sighted before tiling commences
- Any variations documented in writing before work proceeds
- You know who to contact if you have a question during the build
After Completion: Snagging, Sign-Off, and Warranty
The build is done. Before you hand over final payment, there is a process to follow.
The defects inspection
Walk through the finished bathroom with your builder before making the final payment. This is standard practice and any professional builder will expect and welcome it.
Tiles and grout
- Grout lines: consistent and fully filled?
- Any chipped, cracked, or hollow-sounding tiles?
- Tiles are level. Run a straight edge across floor tiles if unsure.
Fixtures and fittings
- All tapware operates correctly and without dripping
- Basin and toilet are secure and level
- Toilet flushes and fills correctly
- Shower screen opens, closes, and seals properly
- Vanity doors and drawers operate smoothly
Waterproofing and drainage
- Floor drains freely. No pooling.
- Shower drains quickly and completely
Electrical
- Exhaust fan operates
- All lights function
- Switches in correct positions
Finishes and detail
-
Silicone at all junctions (bath/floor, screen/wall, vanity/wall) is clean and consistent
-
Paint touch-ups where required
-
No visible scratches on fittings or screen
-
Defects list written and shared with builder in writing before final payment
-
Builder has confirmed a timeline for addressing any items on the list
-
All compliance certificates collected: waterproofing, plumbing Form 3, electrical
-
Manuals and warranties for all fixtures, tapware, and appliances collected
-
Final payment made only after defects are resolved, or with a clear written agreement in place
Your warranty entitlements in NSW
Under the NSW Home Building Act 1989, licensed builders must provide statutory warranties for residential building work. For major defects, the warranty period is 6 years from completion. For non-major defects, it is 2 years. If something goes wrong with the waterproofing, plumbing, or any other element of the build within these timeframes, you have legal recourse.
For work over $20,000, your builder is required to hold Home Building Compensation Fund (HBCF) insurance. Ask for the certificate of insurance before work begins. Keep all compliance certificates and your contract. You will need them if you ever need to make a claim.
- Written confirmation of completion date noted. This is when the warranty period starts.
- HBCF insurance certificate on file for projects over $20,000
- All compliance certificates filed with your home building documents
- Manufacturer warranties registered for any products that require it
- Builder’s contact details and licence number saved for future reference
Maintenance tips for your new bathroom
A well-built bathroom should last 15 to 20 years with reasonable care. A few habits that extend the life of the finishes:
- Rinse and dry tapware after use to prevent mineral build-up, particularly in hard water areas
- Re-silicone junction lines every 3 to 5 years. This is normal maintenance, not a defect.
- Run the exhaust fan for at least 10 minutes after every shower
- Check grout annually and address any hairline cracks before water can penetrate
Frequently Asked Questions
In what order should you do a bathroom renovation?
The correct sequence for a bathroom renovation with a licensed builder is: demolition, then plumbing and electrical rough-in, then waterproofing (with the Certificate of Compliance issued before tiling begins), then tiling, then vanity and cabinetry installation, then fixture fit-off (basin, toilet, tapware), then shower screen, then electrical fit-off (lights, exhaust fan), then accessories and finishes. Waterproofing must be completed and certified before tiling starts. This is a legal requirement in NSW under Australian Standard AS 3740. The shower screen is measured and ordered after tiling is complete, so it comes near the end of the sequence.
What to include in a bathroom renovation?
A complete bathroom renovation typically includes: full strip-out of existing tiles and fixtures, waterproofing membrane to AS 3740 with Certificate of Compliance, new floor and wall tiles, new vanity and basin, new tapware (basin mixer, shower mixer, and bath mixer if applicable), new toilet, shower screen, exhaust fan and lighting, mirror, accessories (towel rails, toilet roll holder, hooks), and all plumbing and electrical work required. Your builder should itemise all of these in the quote so you can see exactly what is and is not included.
Can you renovate a bathroom for $10,000?
A full bathroom renovation for $10,000 is not achievable in Sydney in 2026. A complete renovation including waterproofing, plumbing, electrical, tiling, vanity, tapware, toilet, shower screen, and all fixtures starts at around $27,000 for a standard finish on Sydney’s North Shore. The $10,000 figure does not cover the cost of licensed trades and materials at current Sydney rates. If your budget is around $10,000, a cosmetic refresh, including repainting, new accessories, new mirror, and new tapware fittings without moving plumbing, is achievable and can meaningfully update a dated but structurally sound bathroom.
Can you redo a bathroom for $5,000?
A full bathroom renovation for $5,000 is not possible in Sydney. A purely cosmetic update, including repainting, new accessories, replacing a toilet seat, and a new towel rail, can be done for under $5,000. But any renovation that touches waterproofing, plumbing, or tiling will cost significantly more, because these elements legally require licensed trades in NSW. Our bathroom renovation cost calculator can help you see what different levels of scope actually cost for your specific bathroom.
Ready to Get Started?
At LikeSilk Building (Licence 274849C), we work with homeowners across Sydney’s North Shore to plan and deliver bathroom renovations from first brief to final handover. We are a family-run building business, and we believe the process should be as good as the outcome.
Our process is straightforward:
- Reach out - tell us about your bathroom and what you are trying to achieve
- Site inspection - we visit, walk through the space, understand the scope, and answer your questions
- Detailed quote - a clear, itemised quote so you know exactly what you are getting and what it costs
- Get started - selections locked in, schedule confirmed, and the build begins
Get in touch with LikeSilk Building to book a free consultation. No obligation. Just a clear, honest conversation about your renovation.
You might also find these guides useful as you plan: