Most kitchen renovation mistakes aren’t caused by bad luck. They’re caused by decisions made at the start of a project, often before a single tradie has set foot on site.
This guide covers the seven mistakes we see most often on North Shore kitchens, plus what a realistic budget looks like, how long a proper renovation actually takes, and what to check before you sign anything.
Why Kitchen Renovations Go Wrong
The kitchen is the most complex room in the house to renovate. It involves plumbing, electrical, joinery, tiling, appliances, and a ventilation system, all needing to be coordinated and sequenced correctly. When one part slips, everything downstream is affected.
Hidden costs are the most common shock. On a mid-range Sydney kitchen renovation, unexpected items can add $5,000 to $15,000 to a project that looked straightforward on paper. Pre-1990 homes in particular carry real risks: asbestos in wall sheeting or flooring ($3,000 to $8,000 to remediate safely), outdated wiring that doesn’t meet current standards ($1,500 to $3,000 to upgrade), and water damage behind old cabinetry that nobody knew was there ($2,000 to $5,000 to rectify properly).
None of this means you should avoid renovating. It means you should go in with clear eyes, a realistic budget, and a builder who will tell you about these risks before they find them, not after.
Top 7 Kitchen Renovation Mistakes (and What to Do Instead)
Mistake 1: Choosing Price Over Process
The cheapest quote is almost never the best one. That doesn’t mean you should pay more than necessary, but there’s a consistent pattern we see: a low quote gets accepted, the job starts, and then the variations begin.
A builder quoting low often has gaps in their scope. Items not listed in the quote won’t be included in the price. Common omissions include demolition and site protection, PC (Prime Cost) items like tapware and handles, appliance installation, splashbacks, site clean-up, and compliance certificates. When these are added back in, a quote that looked $15,000 cheaper can end up costing $8,000 to $20,000 more than a detailed proposal that included them upfront.
Prime Cost items deserve specific attention. A PC item is an allowance in the quote for a product you’ll choose later, like a tap or a tile. If the allowance is $200 for tapware and you want a $600 tap, that’s a $400 variation. Multiply that across ten selections and you understand how budgets move.
What to do instead:
- Ask for a line-item proposal, not a lump sum
- Check that all PC items have realistic allowances
- Ask specifically what is not included in the price
- Read our post on understanding building contracts in Sydney before you sign
For more on how to evaluate quotes properly, our building contract checklist covers what every proposal should include.
Mistake 2: Not Engaging a Builder Early
The traditional path is: dream, draw, then price. It feels logical. But it often produces a beautiful set of plans that costs 30% more to build than the budget allows.
When a builder is involved from the start, design decisions are tested against real costs in real time. A layout that would require a $6,000 structural beam can be adjusted before the drawings are finalised, not after. Specification choices that push a project over budget get flagged while they’re still easy to change.
Going through the design phase without a builder typically results in two to three weeks of redesign and $3,000 to $5,000 in rework fees when the builder’s quote comes in higher than expected. Sometimes significantly more.
What to do instead:
- Speak to a builder before you finalise your design
- Ask them to give you honest cost feedback as the design develops
- Look for a builder who actively works with designers, not one who just prices completed drawings
Read more about why early builder involvement changes outcomes on kitchen projects.
Mistake 3: Underestimating Scope Creep
It starts with a single question: “While we’re doing the kitchen, should we also update the hallway flooring?” Then the pantry becomes a butler’s pantry. Then the laundry gets pulled in. Each decision feels small. Together they can double the original project.
Scope creep is normal human behaviour and it costs real money.
The Cost of Changes Mid-Build
Changes made after construction has started are far more expensive than the same change made during design. A layout adjustment after framing has been completed can cost $2,000 to $4,000 in rework and add two to three weeks to the timeline. Upgrading a material mid-construction, when the original has already been ordered, typically adds $1,000 to $3,000 in cancellation fees and price differences.
What to do instead:
- Finalise all selections before work starts on site
- Have a clear written scope of works that both parties have signed off
- Treat the scope as fixed once construction begins, and save your wish list for the next project
LikeSilk’s pre-construction process is built around locking down decisions before tools arrive. It’s not bureaucracy. It’s how you protect your budget.
Mistake 4: Poor Kitchen Layout Decisions
A kitchen that looks great in a render can still be genuinely annoying to cook in. Layout mistakes are the hardest to fix after the fact because they’re baked into the structure.
The most common functional problems we see:
- Not enough continuous bench space. Aim for at least 1.2 metres of uninterrupted preparation area
- Poor workflow between fridge, sink, and cooktop (the “kitchen triangle” still applies)
- Islands that block movement. An island needs at least 1.2 metres of clear walkway on all sides
- Dead corners with no pull-out storage. Without purpose-built corner solutions, you lose roughly 40% of that cabinet’s usable volume
What to do instead:
- Design around how you actually cook, not how the kitchen will photograph
- Walk through the workflow before locking in any layout: fridge to bench, bench to sink, sink to cooktop
- Plan every corner before cabinetry goes to order
Browse our small kitchen renovation ideas if you’re working with a constrained footprint.
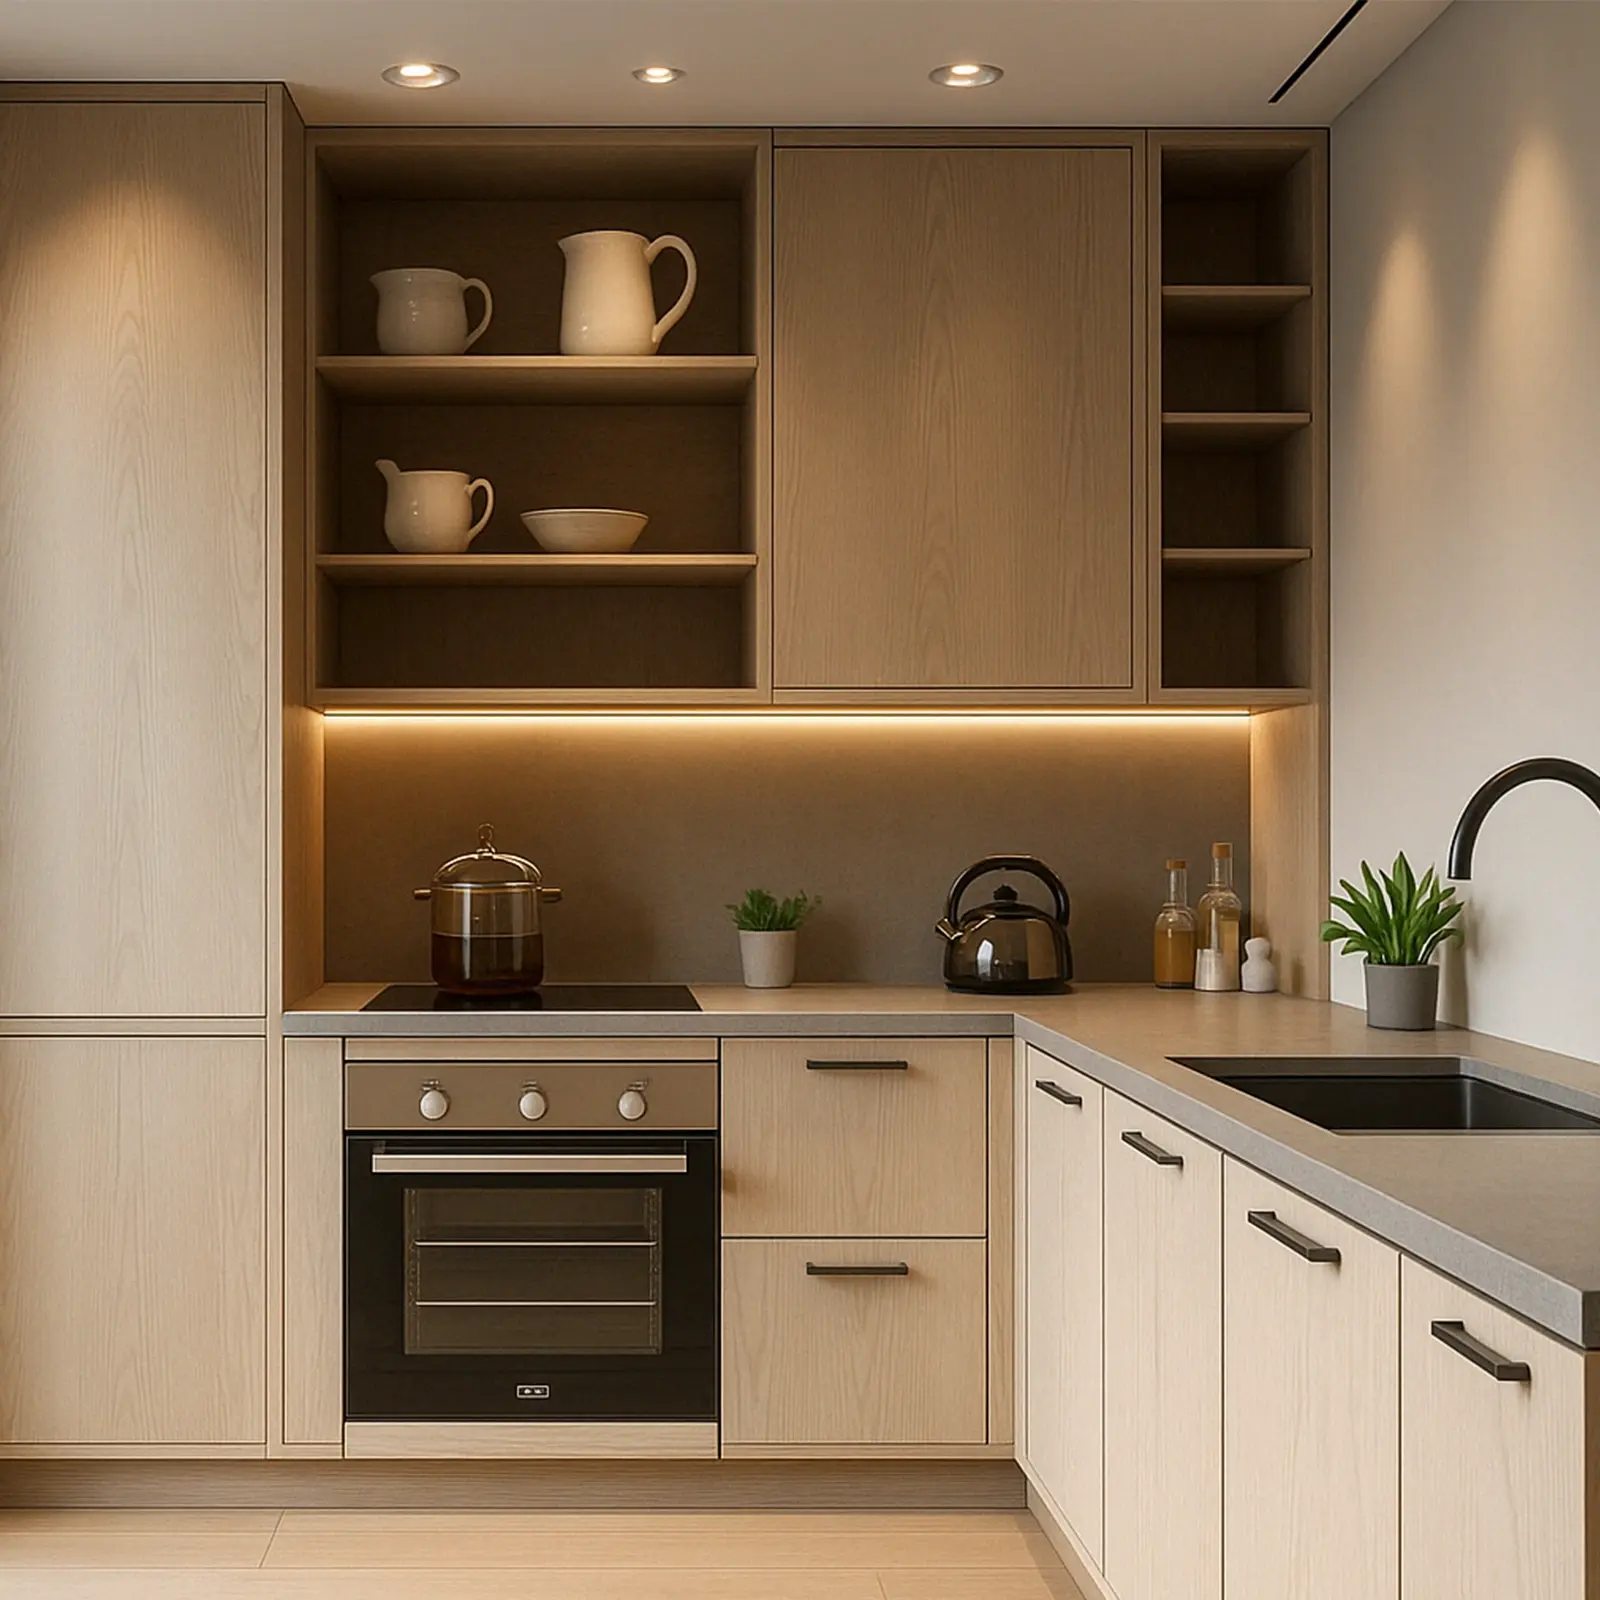
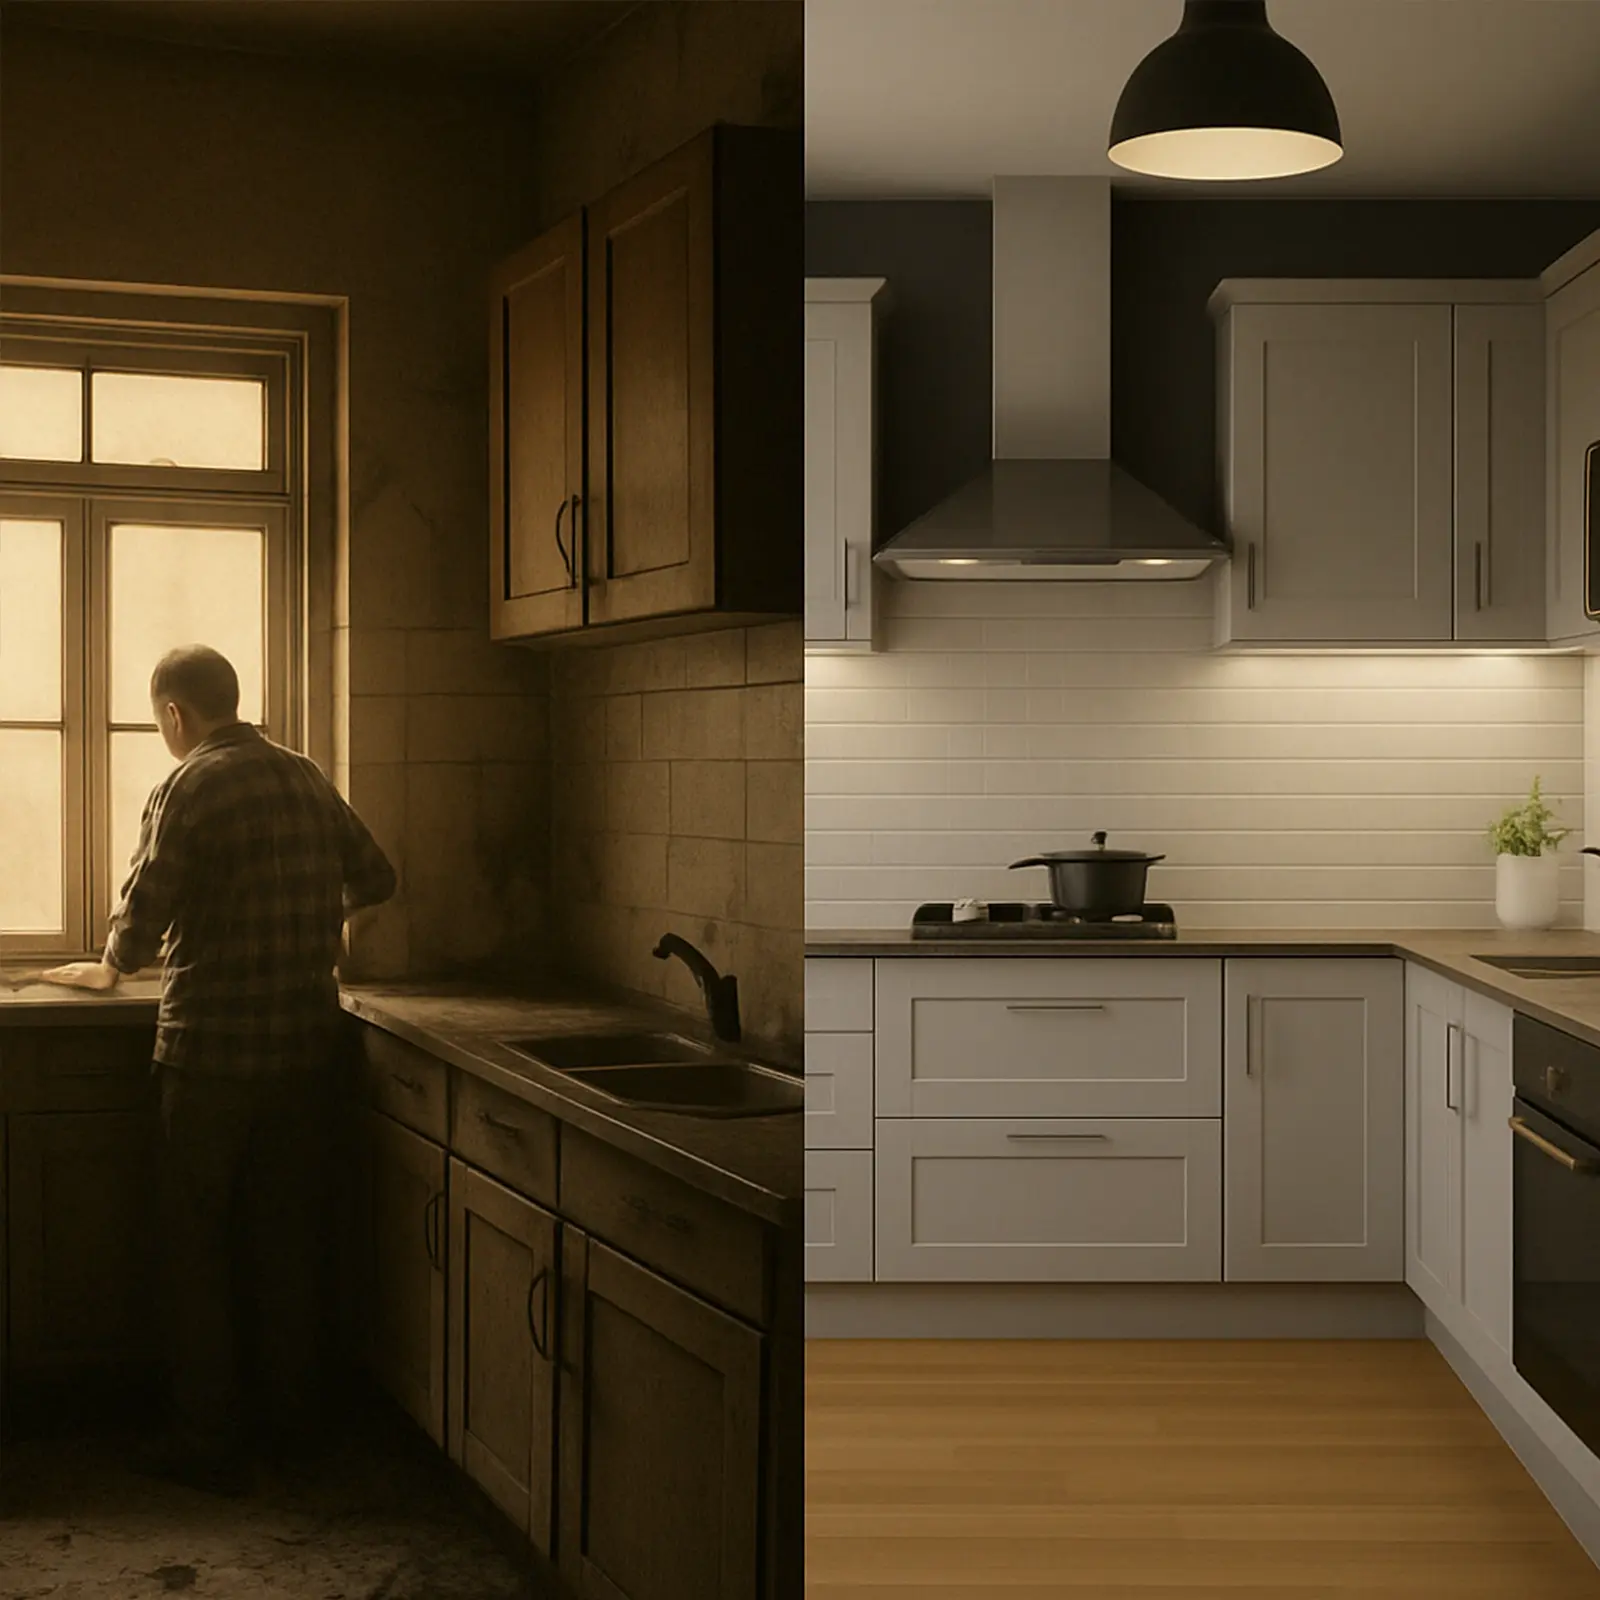
Mistake 5: Skimping on Lighting and Storage
These two categories share a habit of being treated as afterthoughts. They’re not. They’re what makes a kitchen actually work day-to-day, and they’re both much harder to fix after the cabinets are in.
Lighting. A kitchen lit only by downlights is a common regret. Downlights provide ambient light but create shadows exactly where you need to see clearly: on the bench. A practical lighting split to aim for is 40% ambient (downlights, pendants), 40% task (under-cabinet strips over bench areas), and 20% accent (inside glass cabinets, toe-kick lighting). The cost difference between a well-lit kitchen and a poorly-lit one is usually $800 to $2,500 in fittings and additional circuits, specified at the start.
Storage. Drawers cost 15 to 20% more than hinged cupboards. They’re worth it. A drawer gives you full visibility and access to everything stored in it. A cupboard gives you good access to the front third. Most clients who have lived with a drawer-dominant kitchen never go back.
What to do instead:
- Specify task lighting over every preparation area at the design stage
- Opt for drawers in base cabinets wherever budget allows
- Include bin solutions, charging stations, and pantry organisation in the original design, not as an afterthought
Mistake 6: DIY Project Management
Managing your own renovation trades seems like a way to save 10 to 15% on builder margin. In practice, it’s rarely that straightforward.
Trade scheduling is harder than it looks. Electricians, plumbers, tilers, and joiners all have dependencies. The tiler can’t tile until the plumber has set out. The joiner can’t install until the tiling is done. If one trade is delayed, everyone else moves. Managing those relationships, follow-ups, and rebooking costs is a full-time job during the project.
When scheduling breaks down, the costs are concrete. A trade called back to site because another trade wasn’t ready typically bills a minimum call-out charge of $300 to $500. If it happens across multiple trades over a multi-week delay, standby and rescheduling costs can reach $3,000 to $5,000. That’s before factoring in your own time.
The compliance risk is more serious. Non-compliant work (waterproofing, electrical, plumbing) can cost $10,000 or more to rectify, and may not be covered by insurance if unlicensed trades were used. NSW Fair Trading requires that residential building work over $20,000 be carried out under a contract with a licensed builder.
What to do instead:
- Work with a licensed builder who takes responsibility for trade coordination, scheduling, and compliance
- Ask specifically how they manage the sequence between plumbing, electrical, and joinery
Mistake 7: No Contingency for Surprises
Sydney’s older homes, particularly those built before 1980 in suburbs like Lane Cove, Willoughby, and Neutral Bay, carry hidden conditions that don’t show up until walls and floors come out.
The most common findings and their realistic costs:
- Asbestos in wall sheeting, flooring, or backing boards: $3,000 to $8,000 for licensed removal and disposal
- Water damage behind cabinetry or under the floor: $2,000 to $5,000 to dry out, treat, and re-sheet
- Non-compliant wiring (aluminium wiring, undersized circuits): $1,500 to $3,000 to bring to standard
- Sub-floor issues discovered once tiles are lifted: $1,000 to $4,000 depending on extent
A 10 to 15% contingency on your kitchen budget is not pessimism. It’s accurate. Most well-run projects don’t use all of it. Some use every cent.
What to do instead:
- Build a 10 to 15% contingency into your budget from the start
- Ask your builder what they’ve found in similar homes in your area
- Choose a builder who will tell you about risks before the job starts, not after they’ve uncovered them
The icare NSW Home Building Compensation Fund provides some protection against builder insolvency on projects over $20,000. Make sure your builder is covered. You can check online before you sign.
Kitchen Renovation Cost Breakdown
Understanding where the money goes makes it easier to make trade-off decisions with confidence.
Budget tiers for Sydney kitchen renovations
Budget kitchens ($25,000 to $40,000): Stock or semi-custom cabinetry, laminate or entry-level stone benchtops, mid-range appliances, and straightforward layouts with limited structural work. These kitchens can look good and function well, but material longevity and finish quality will be lower than the tiers above.
Mid-range kitchens ($40,000 to $60,000): Custom or semi-custom cabinetry with soft-close hardware, engineered stone benchtops (20mm), quality appliances from brands like Bosch or AEG, tiled splashback, and a considered lighting scheme. This is the most common tier for North Shore renovations.
High-end kitchens ($60,000 to $90,000 and above): Fully custom joinery, premium stone (40mm or book-matched), premium European appliances, integrated storage solutions, and bespoke details throughout. Some projects in Mosman and Neutral Bay sit well above the top of this range.
Where the money goes
For a typical mid-range kitchen renovation, costs break down roughly as follows:
- Cabinetry and joinery: 30 to 35% of total cost
- Benchtops: 15 to 20%
- Appliances: 20 to 25%
- Labour (trades, installation, project management): 20 to 30%
- The remainder covers tiling, electrical, plumbing, lighting, hardware, and any structural work
This means on a $50,000 kitchen, you might expect $16,000 to $17,500 in cabinetry, $9,000 to $12,500 in appliances, and $7,500 to $10,000 on benchtops, with the balance covering everything else.
Hidden costs that regularly blow budgets
Beyond the obvious items, these are the costs that catch people off guard:
- Structural work to open walls: $4,000 to $12,000 depending on whether the wall is load-bearing
- Services relocation (moving plumbing or electrical points): $2,000 to $5,000
- Rangehood ducting to exterior: $800 to $2,500 depending on distance and access
- Flooring replacement (often necessary when the kitchen footprint changes): $3,000 to $8,000
- Compliance certificates: $500 to $1,500 depending on the scope of work
For a full breakdown of current Sydney kitchen renovation costs, including suburb-by-suburb context, see our kitchen renovation cost guide.
Kitchen Renovation Timeline
A kitchen renovation has two distinct phases: pre-construction and on-site. The total elapsed time from first conversation to finished kitchen is usually longer than homeowners expect.
Pre-construction: 2 to 4 weeks minimum
Before a tool touches your home, a well-run project goes through design development, material selection, trade scheduling, and building approval (if required). This phase includes:
- Initial consultation and site measure
- Design development with cabinetry supplier
- Material selections (benchtop, splashback, tapware, handles, appliances)
- Joinery order placed (typically 4 to 6 weeks lead time from order to delivery)
- Council or certifier approval if structural work is involved
- Trade scheduling
The joinery lead time is the single biggest driver of overall timeline. It’s also non-negotiable. Custom cabinets take as long as they take. Planning around this early is important.
On-site construction: 4 to 8 weeks for mid-range kitchens
Once trades begin on site, the sequence typically runs:
- Demolition and removal of existing kitchen (1 to 2 days)
- Structural work if required (1 to 5 days depending on scope)
- Rough-in: plumbing and electrical repositioning (2 to 4 days)
- Wall preparation and waterproofing where required (1 to 2 days)
- Tiling (2 to 5 days depending on area and pattern)
- Cabinetry installation (2 to 3 days)
- Benchtop template and installation (typically 1 week between template and install)
- Appliance installation, fit-off plumbing and electrical (2 to 3 days)
- Splashback, final tiling, painting (2 to 4 days)
- Final clean and inspection
The benchtop template-to-installation gap (step 7) is often a surprise to homeowners. Stone benchtops are measured after cabinets are installed, then cut to exact dimensions. Most suppliers take 5 to 10 business days from template to installation. Your kitchen is out of action during this window.
Why timelines slip
The most common causes of timeline delays on kitchen projects:
- Selections not finalised before construction starts (forces stop-start workflow)
- Material lead times not accounted for in the schedule
- Structural surprises that require additional work before the next trade can proceed
- Trade availability gaps after delays (the plumber who was booked for week two may not be available until week four after a one-week delay)
A builder who pre-constructs properly, with all selections locked and trades pre-booked, runs a significantly tighter timeline than one who starts on site and coordinates as they go.
How to Get It Right From Day One
The pattern in every well-run kitchen renovation is the same: decisions get made early, before they cost money to change.
Here’s the checklist we work through with clients before any project starts on site:
- Define your goals and non-negotiables (what matters most: storage, workflow, entertaining, aesthetics)
- Set a realistic budget including a 10 to 15% contingency
- Speak to a builder before finalising your design
- Finalise all material selections before construction begins
- Check your builder holds a current NSW contractor licence and HBCF coverage
- Get a line-item proposal, not a lump sum
- Read the contract before you sign it
If you want to understand how approvals work for your specific project, our guide to DA vs CDC approvals explains the difference and when each applies.
Our Renovation Blueprint covers the full planning process in detail, including how to approach budgeting and builder selection.
And for a full guide to kitchen renovations in Sydney, including what’s involved at each stage, our service page covers the process we follow.
Real-Life Examples
Layout lock-in saved $6,000 and three to four weeks
A client in Lane Cove was planning to remove a load-bearing wall to open up their kitchen. During the pre-construction phase, we modelled an alternative layout using strategic cabinetry placement and a repositioned island that achieved the same open feel. The result: they kept the wall, avoided structural engineering fees, and saved just over $6,000 and three to four weeks of construction time, without compromising on the final look.
Missing $5,000 in scope items caught before signing
A couple in Willoughby brought us a lump-sum quote from another builder. When we produced our own line-item proposal for the same kitchen, they realised five categories of work were entirely absent from the original quote: splashback installation, appliance installation and commissioning, rangehood ducting, site clean-up, and compliance certificates. The total gap was just over $5,000. Our proposal was higher on paper. The total project cost was lower.
Contingency catch in Neutral Bay
A client in Neutral Bay had budgeted $52,000 for a full kitchen replacement in a 1960s-era home. During demolition, we found water damage behind the existing cabinetry from a slow leak that had been there for years, plus aluminium wiring that needed to be replaced before the new electrical fit-off could proceed. Total additional cost: $6,400. Because the client had set aside a 12% contingency from the start, this was covered without any stress or delay to the project.
These aren’t exceptional cases. They’re representative of what kitchen projects in older Sydney homes typically look like.
FAQs: Avoiding Kitchen Renovation Regrets
How do I compare kitchen renovation quotes properly?
Start with the level of detail. A credible quote lists every scope item, specifies PC allowances for each selection, and clearly states what is not included. Lump-sum quotes are almost always missing something. For each quote you’re comparing, ask for a written list of exclusions and a breakdown of PC items. Then compare total project cost using realistic selections, not the lowest possible allowances.
What’s the biggest cause of budget blowouts on kitchen renovations?
Making decisions after construction has started. Every change made on site costs more than the same change made during design, and creates delays that compound. Finishing selections before the project starts is the single most effective thing you can do to protect your budget.
What’s a realistic contingency to set aside?
For a standard mid-range kitchen in a home built before 1990, allow 15%. For a newer home with no known history of water damage or compliance issues, 10% is reasonable. If you’re planning significant structural work, go higher. The contingency isn’t money you expect to spend. It’s protection against the things you can’t see until demolition begins.
Is it a bad idea to manage the project myself?
For most homeowners, yes. Trade scheduling is harder than it looks, and the cost of errors, in standby fees, delays, and rescheduling, adds up quickly. The bigger risk is compliance. If licensed trades aren’t coordinated correctly and inspections aren’t called at the right points, you can end up with work that can’t be certified. A licensed builder takes responsibility for all of this.
Should I engage a designer or builder first?
Speak to a builder early, ideally before you finalise a design. They can give you honest cost feedback as the design develops and flag anything that’s going to be difficult or expensive to build. If your project involves significant structural work, a heritage overlay, or a DA application, an architect may be worth engaging for that phase. Our post on choosing an architect vs builder covers this in more detail.
How do I verify a quote is complete?
Ask for a written list of exclusions. Ask specifically about demolition, compliance certificates, site protection, appliance installation, splashback, rangehood ducting, painting, flooring, and site clean-up. If any of these are not mentioned, ask the builder to confirm whether they’re included or not. The Housing Industry Association publishes guidance on what should be included in a residential building contract. It’s worth reading before you sign anything.
Can I do a kitchen renovation without a licensed builder?
Structural work, electrical work, and plumbing must be carried out by licensed tradespeople regardless of project size. For residential building work in NSW with a total value of over $20,000, a contract with a licensed builder is required by law. NSW Fair Trading administers these requirements. Projects where unlicensed work is used can face issues with compliance certification, insurance, and resale.
Ready to Get It Right?
The mistakes in this guide are common. They’re also almost entirely preventable with the right process and the right builder.
LikeSilk Building is a family-run licensed builder on Sydney’s North Shore (licence 274849C). We manage kitchen renovations end-to-end, from design development and material selection through to trade coordination, compliance, and handover. Our job is to make the experience as straightforward as possible for you, and to give you honest information at every step.
If you’re in the early stages of planning a kitchen renovation, book a consultation and we’ll give you a clear picture of what your project involves, what it’s likely to cost, and how long it will take. No pressure, no obligation.
Related Reading
- Kitchen Renovation Cost Guide: Sydney 2026
- Small Kitchen Renovation Ideas for Sydney Homes
- The High Price of Low-Cost Renovations
- Collaborative Design: Why Early Builder Involvement Is Key
- Fixed Price vs Cost-Plus Contracts in Sydney
- 10 Questions to Ask Your Builder Before Engaging
Licensing requirements for residential building work in NSW are administered by NSW Fair Trading. Home building compensation requirements for projects over $20,000 are covered by the icare NSW Home Building Compensation Fund. Industry guidance on building contracts is published by the Housing Industry Association.